Gorjuss Alley Cat
This tutorial was written by me on October 14, 2009 and named by my husband lol. It is entirely my own idea and any similarities to any other tutorial are pureply coincidental. Please do not copy and paste my tutorial. Send people to my blog if they want to try it. Thank you! You can click on my images to make them full sized.
I am using the adorable artwork of Suzanne Woolcott, which you can get at her store, GorjussArt. Please do not use the same without the proper license (purchase)!
Mask of choice, or the one I'm using by WSL, mask81, which you can get here. She has a lot of very nice masks that she freely provides for our use. If you don't already have this in your collection, be sure to leave her some love!
FTU scrap kit by SkyScraps called Maxou, which she made in memory of her cat who recently passed away. You can download it at her blog and leave a thank you!
Font of choice. I used SweetheartScript-Limited.
For any of you who know me, you know I have a strong love of cats. We have 5 of the furry room mates!
Here we go.
Start with a 600x600 transparent canvas. Selections, select all to get the marching ants going around the edges of the canvas.
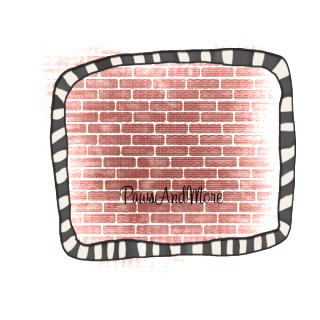
Open Paper1. Copy and then paste it into selection on your working canvas. Selections, select none. Apply your mask of choice. I used WSL_Mask 81. Right click on your mask layer on your layer palette and merge, merge group. Ok let's start building your tag.
Open up Frame 1. Copy and paste it as a new layer on top of your mask layer. Take your deform tool
 and squeeze in the left side of the frame a little bit and then drag the node at the top and pull it up a little bit.
Decorate your tag any way you want to! I used the Kitty Heart and copied and pasted it onto the right side of the frame. Open element 12 and resize it 30% Smart size. Copy and paste it over the heart and drag that layer down in your layer palette so the bottom edge of the cat grass is under the heart.
Open either element 7 or 8. It's your choice. Resize 40% Smart size and place it on top of the kitty grass and under the heart. Take your eraser brush and erase the tiny bit of the stem that is hanging out of the lower part of the heart.
Open element1. Resize by 30% smart size. Copy and paste it so it's sitting on the bottom edge of the frame opening.
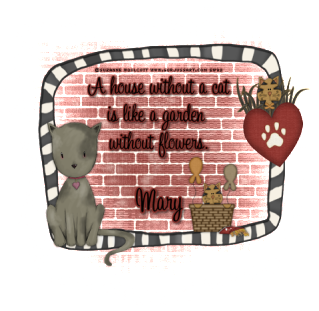
Add anything else you want to. I took one of the word art phrases from the kit and just typed it out myself.
Add your tube and resize it to fit.
Go back through and add a drop shadow to all the layers except the mask layer. My standard drop shadow is 2 , 2, 55, 5 .
Go ahead and merge everything if you are happy with it. Image resize and resize by 80% BICUBIC. Use your crop tool, crop to layer opaque. Now, add your copyright and license number if applicable. Save as a .png.
Thank you for trying my tutorial. I hope you enjoyed it!


I tried it! =)
ReplyDelete